Fresh Oysters on the Half Shell
Cold oysters, their own briny liquor, and a bed of ice are all this plate needs. Shuck just before serving to keep the flesh plump and the flavor clean—a simple start to an early-spring dinner.
By Jonathan Katzman · Cooked and photographed · Recipe updated
Serves: 4 appetizer servings
Tags: gluten-free, paleo, dairy-free, nut-free, pescatarian
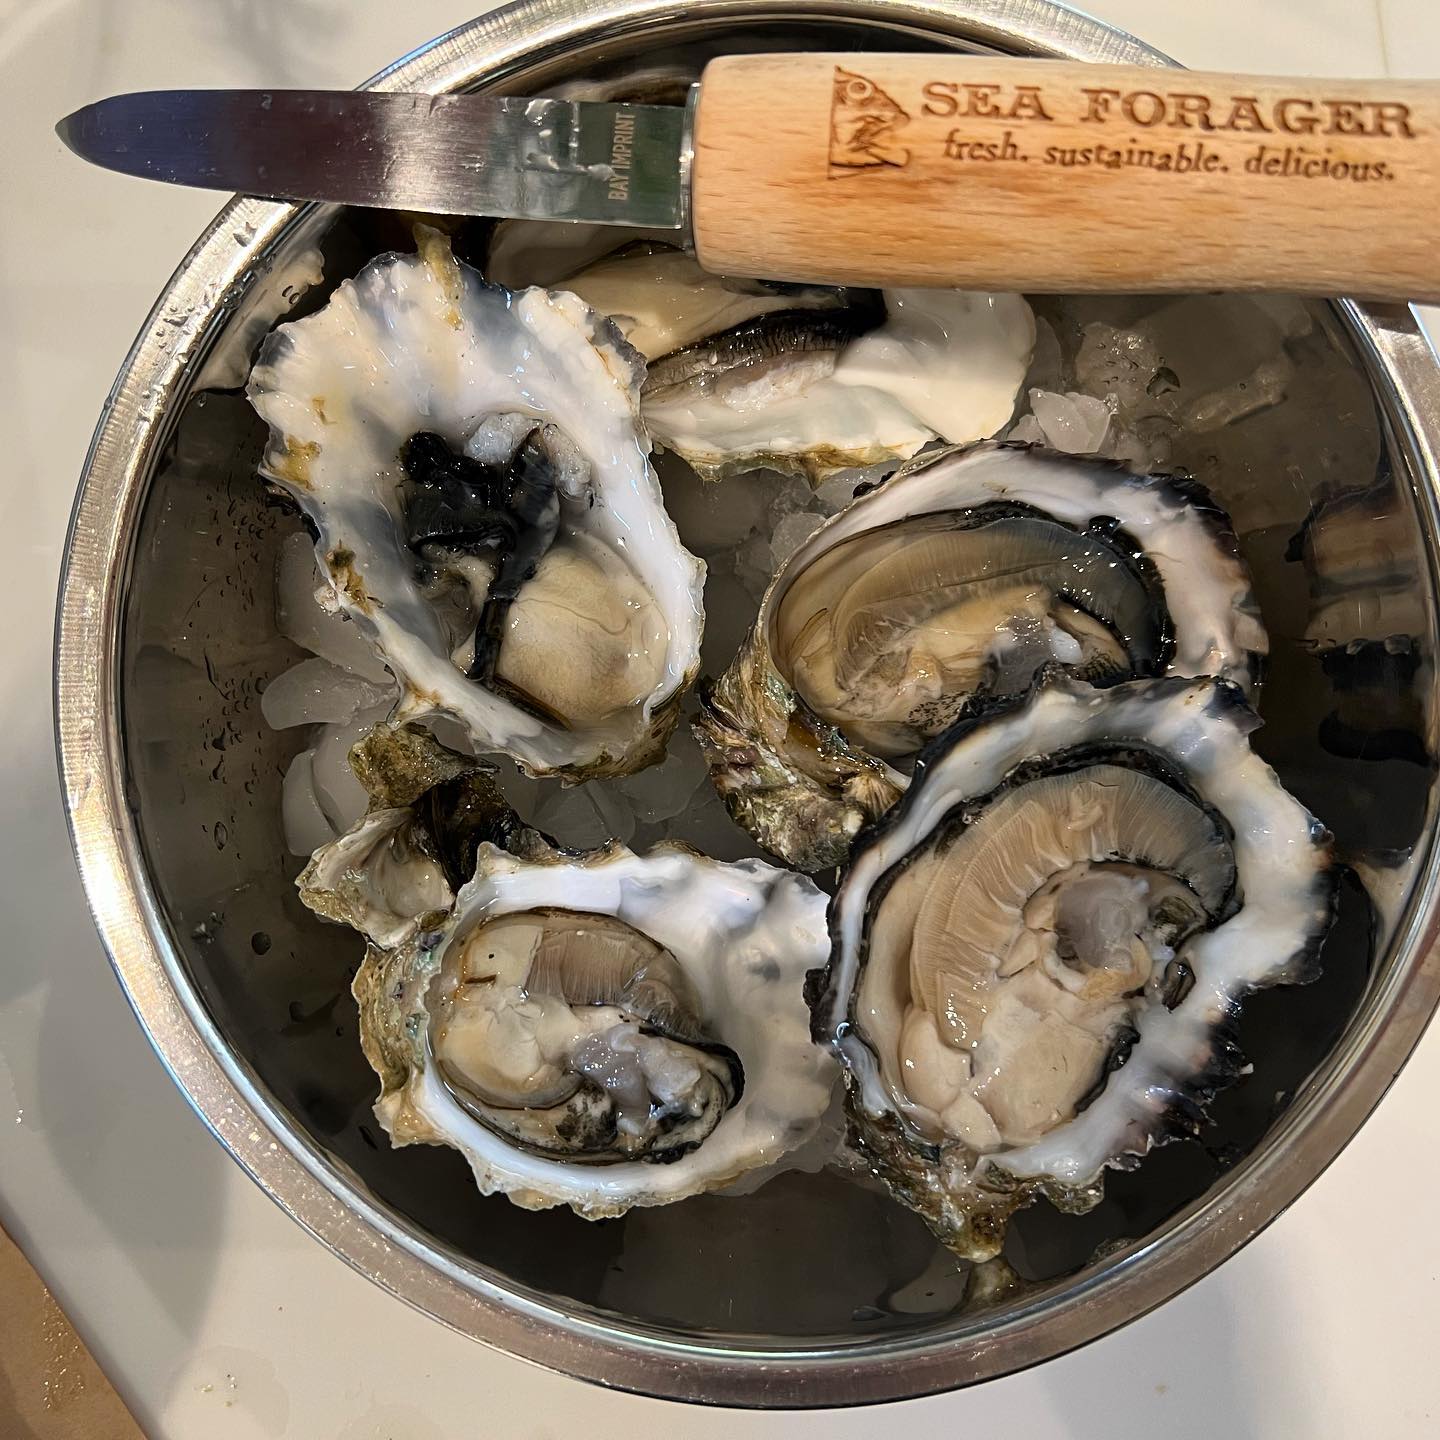
Freshly Shucked Oysters
Keeping the oysters very cold and preserving their liquor lets their natural salinity and sweetness carry the dish.
Ingredients
- 12 live oysters from a reputable shellfish supplier, refrigerated
- 6 cups crushed ice, plus more as needed
Instructions
- Keep the oysters refrigerated at 40°F or below in a bowl covered with a damp towel until ready to shuck. Do not submerge them in water or seal them in an airtight container.
- Scrub the shells under cold running water. Discard any with broken shells or any open oysters that do not close when tapped.
- Fill a shallow serving tray with crushed ice. Place a folded towel on a stable work surface and use it, or a cut-resistant glove, to protect the hand holding the oyster.
- Set an oyster cupped side down with its hinge toward your knife hand. Insert an oyster knife into the hinge with controlled pressure, keeping the blade directed away from your hand. Twist gently to release the hinge.
- Slide the blade along the underside of the top shell to sever the adductor muscle, then lift off the shell without spilling the liquor.
- Run the knife beneath the oyster to detach it from the bottom shell. Pick out any shell fragments with the knife tip; do not rinse the shucked meat.
- Nestle each oyster level in the ice as you work. Serve immediately, cold and with its liquor intact.
Notes
- Raw oysters can carry harmful bacteria even when fresh. People who are pregnant, immunocompromised, older, or have liver disease should avoid raw oysters and choose thoroughly cooked shellfish instead.
- Use a proper oyster knife, not a table knife or pointed kitchen knife.
Overall Timing / Workflow
Preparing the ice and tools first keeps the interval between shucking and eating short.
Instructions
- Keep the oysters refrigerated while you prepare the serving tray, crushed ice, oyster knife, protective towel or glove, and a bowl for discarded shells.
- About 20 minutes before serving, scrub and inspect the oysters, then shuck directly onto the ice.
- For a slower-paced meal, shuck in two batches so the second round stays refrigerated until needed.
Plating
A deep bed of ice stabilizes the irregular shells and keeps their liquor from spilling.
Instructions
- Arrange the oysters cupped side down on the crushed ice, pressing each shell in gently so it sits level.
- Serve three oysters per person, leaving the flesh and liquor unadorned.
- Set out a separate bowl for empty shells and keep the shucking knife off the serving tray.
Leftover Path
Leaving extra oysters unshucked preserves their quality better than opening the entire supply in advance.
Instructions
- Keep any unshucked oysters refrigerated under a damp towel in a ventilated container, separate from melting serving ice. Follow the supplier's use-by guidance.
- Transfer uneaten shucked oysters and their liquor to a clean covered container and refrigerate promptly. Cook within 24 hours, bringing the oyster meat to 145°F for at least 15 seconds.
- Discard oysters left unrefrigerated for more than 2 hours, or more than 1 hour when the surrounding temperature exceeds 90°F.